How to Store Django Static and Media Files on AWS S3: A Step-by-Step Guide
Introduction
Managing static files like CSS and JavaScript, as well as media uploads such as user photos, can quickly become a headache as your Django app grows. Storing these files locally might seem convenient at first, but it often leads to scalability and performance bottlenecks. This is where AWS S3 (Simple Storage Service) comes to the rescue.
AWS S3 is a reliable, highly scalable, and cost-effective object storage service from Amazon Web Services. It's designed to store and retrieve any amount of data, anytime, from anywhere on the web. By offloading your Django app's static and media files to S3, you not only free up server resources but also benefit from S3's global infrastructure, ensuring fast and secure file delivery to users worldwide.
In this guide, we'll walk through integrating AWS S3 with Django step by step, helping you transform file management into a seamless, scalable experience.
In this guide, we'll:
- Set up an AWS S3 bucket.
- Configure Django to use S3 for static and media files.
- Demonstrate the setup with a simple Django project.
Prerequisites
Before you start, ensure you have:
- Django Project: A simple Django app. We'll create one if needed.
- Python Installed: Ensure Python 3.8+ is installed.
- AWS Account: Sign up at AWS if you don't already have an account.
- Access to AWS Management Console.
Step 1: Set Up Your AWS S3 Bucket
1.1 Create a Bucket
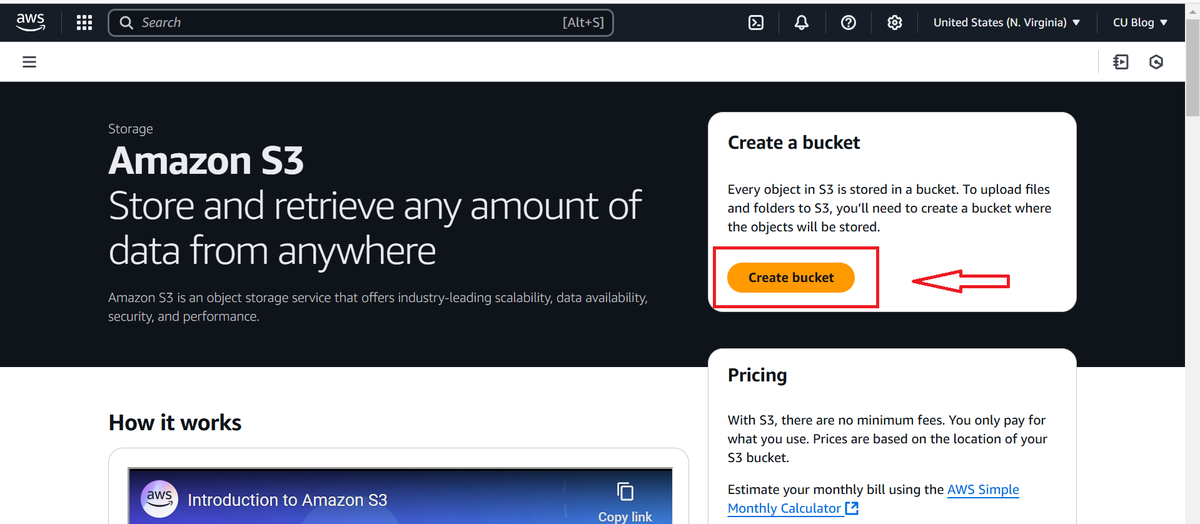
- Log in to the AWS Management Console.
- Navigate to S3 and click Create bucket.
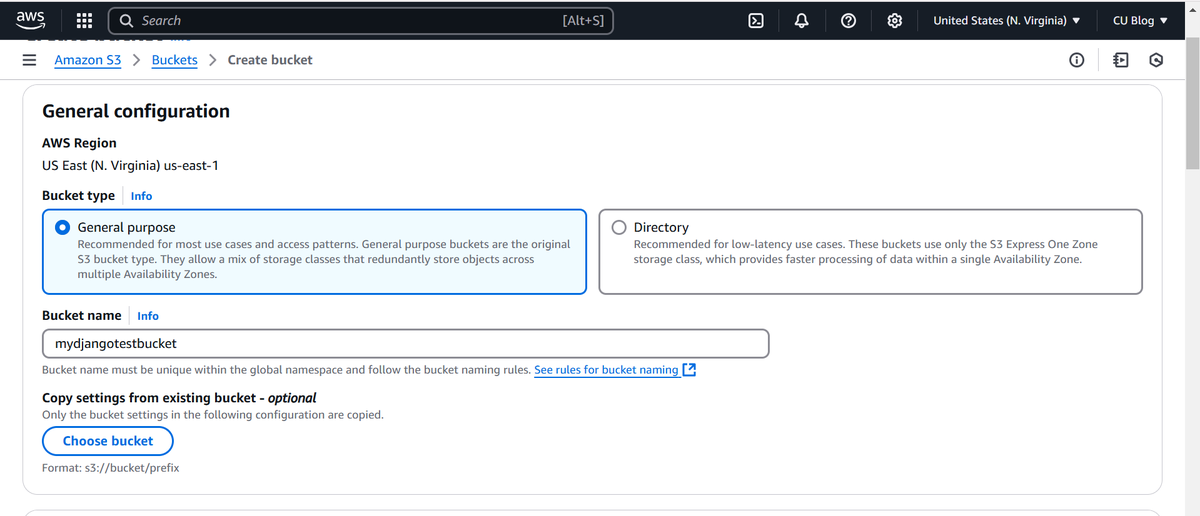
- Configure the following:
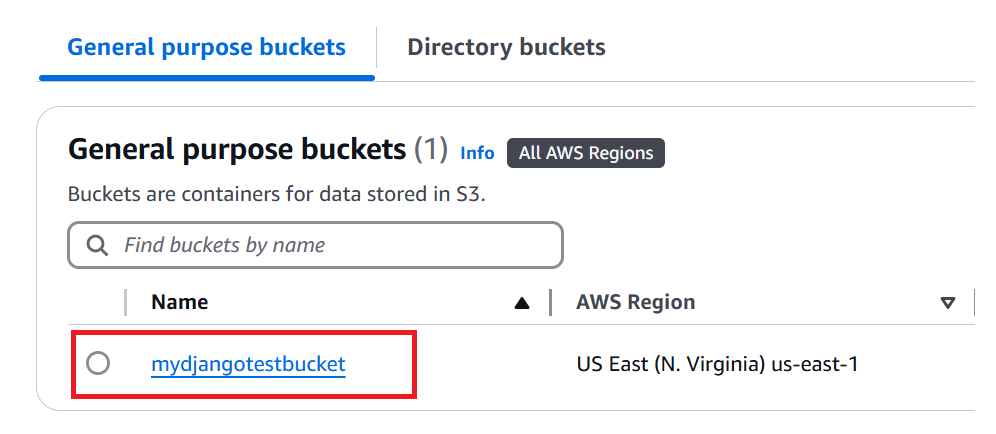
- Bucket Name: Use a globally unique name, e.g., mydjangotestbucket.
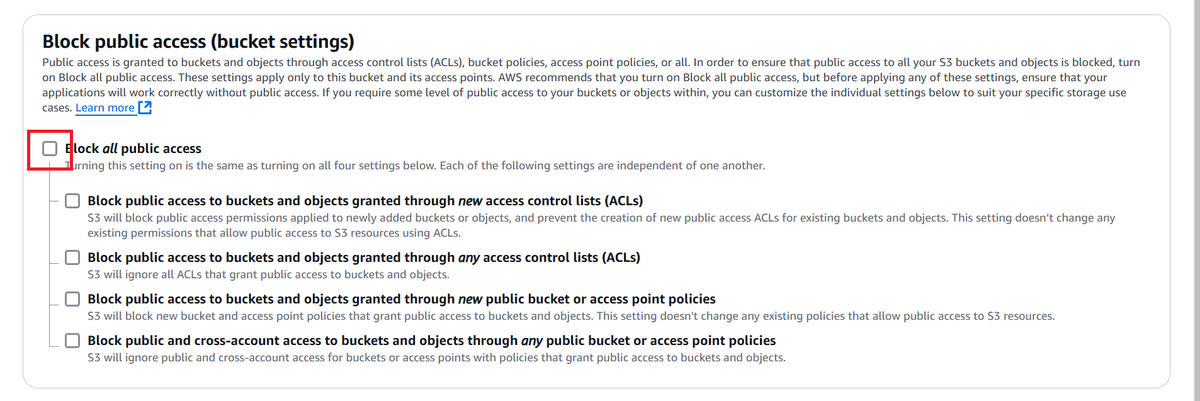
- Region: Choose your preferred AWS region, e.g., us-east-1. - Uncheck the Block Public Access settings.
- Leave other default settings as is.
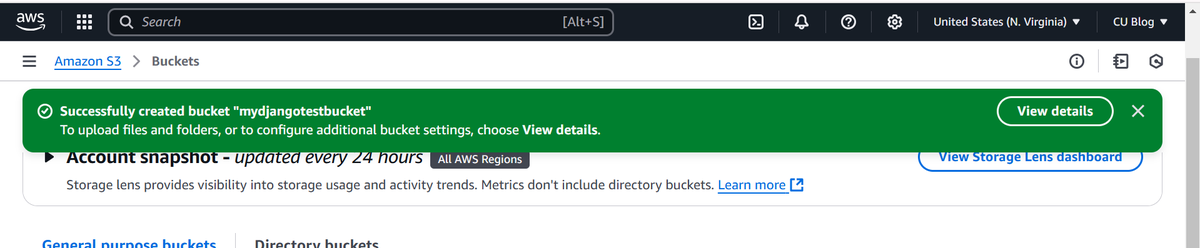
- Click Create bucket.

1.2 Configure Permissions
- Click on your bucket name and go to the Permissions tab.
- Add a bucket policy to allow the S3 bucket to serve files:
- Copy the Bucket ARN
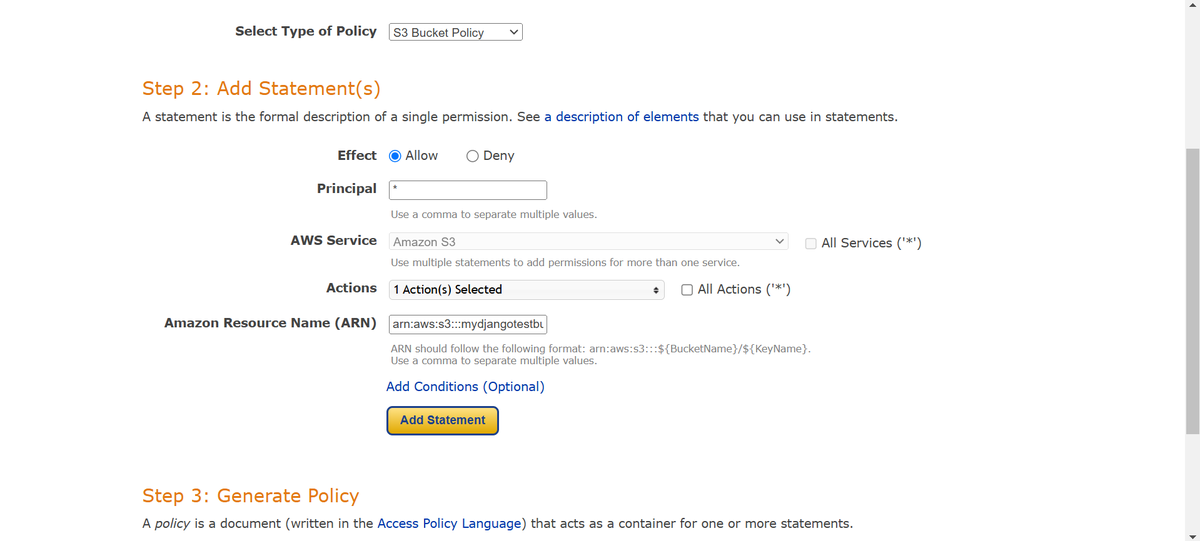
- Use the AWS Policy Generator to create a policy:
- Policy Type: S3 Bucket Policy.
- Effect: Allow
- Principal: * (allow all)
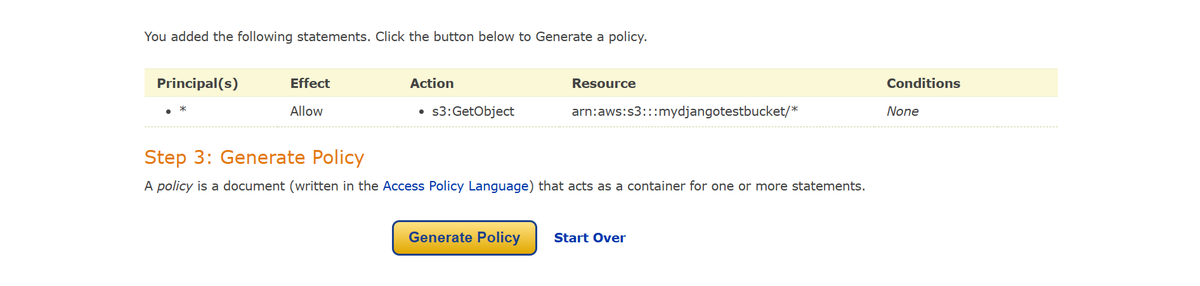
- Action: s3:GetObject
- Resource: Your bucket's ARN
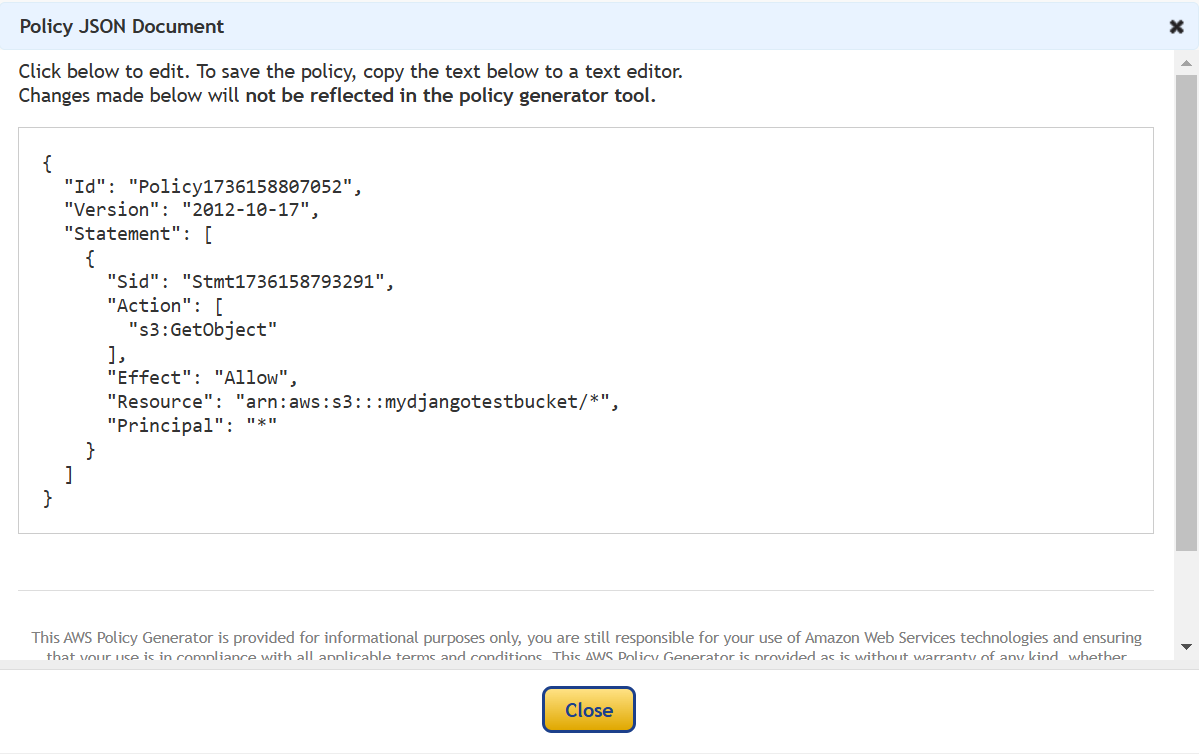
- Generate and copy the policy, then paste it into the Bucket Policy section.
- Save the changes

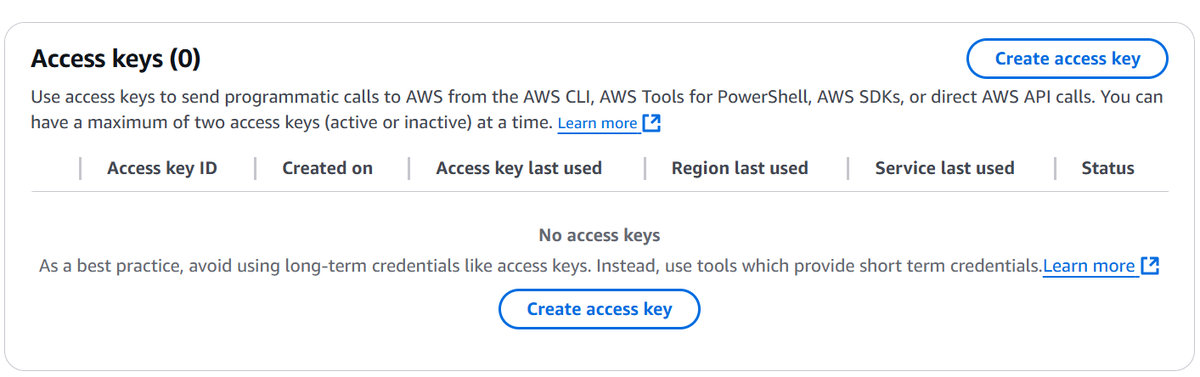
1.3 Set Up Access Keys
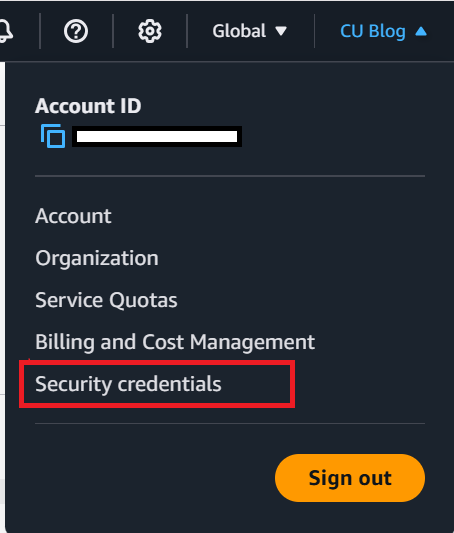
- Click your account name on the top-right of the AWS management Console.
- Go to Security Credentials > Access keys.
- Create new access keys and download/ save them securely.
Step 2: Set Up Your Django Project
Use the sample project to focus on the integration with AWS S3.
Procedure
# Clone the repository
git clone https://github.com/charlesu49/django_s3_demo.git
cd django_s3_demo
# Create and activate a virtual environment
python -m venv venv
source venv/bin/activate
# On Windows: venv\Scripts\activate# Install dependencies
pip install -r requirements.txt# Configure your .env file with:
AWS_ACCESS_KEY_ID=your_access_key_id
AWS_SECRET_ACCESS_KEY=your_secret_access_key
AWS_STORAGE_BUCKET_NAME=your_bucket_name# Apply migrations and start the server:
python manage.py migrate
Step 3: Install and Configure django-storages
django-storages and boto3 are included in the requirements files
3.2 Update Django Settings
Update your setting.py:
Add 'storages' to your installed apps then add the following AWS configurations.
import os
from dotenv import load_dotenv


load_dotenv("./.env", override=True)


AWS_ACCESS_KEY_ID = os.getenv('AWS_ACCESS_KEY_ID')
AWS_SECRET_ACCESS_KEY = os.getenv('AWS_SECRET_ACCESS_KEY')


AWS_STORAGE_BUCKET_NAME = 'mydjangotestbucket'
AWS_S3_REGION_NAME = 'us-east-1'
AWS_S3_CUSTOM_DOMAIN = f'{AWS_STORAGE_BUCKET_NAME}.s3.amazonaws.com'


# S3 Security Settings
AWS_DEFAULT_ACL = None  # Default to bucket settings
AWS_S3_FILE_OVERWRITE = False  # Don't overwrite files with the same name
AWS_S3_VERIFY = True  # Verify SSL certificates
AWS_S3_OBJECT_PARAMETERS = {
    'CacheControl': 'max-age=86400',  # 24 hours cache
}


# Separate storage for static and media files
STORAGES = {


    # Media file (image) management
    "default": {
        "BACKEND": "storages.backends.s3boto3.S3StaticStorage",
    },

    # CSS and JS file management
    "staticfiles": {
        "BACKEND": "storages.backends.s3boto3.S3StaticStorage",
    },
}


# URLs for static and media files
STATIC_URL = f'https://{AWS_S3_CUSTOM_DOMAIN}/static/'
MEDIA_URL = f'https://{AWS_S3_CUSTOM_DOMAIN}/media/'
STATIC_ROOT = os.path.join(BASE_DIR, 'staticfiles')
Step 4: Test the Setup
- Upload static files:
python manage.py collectstatic - Create a superuser:
python manage.py createsuperuser - Start the development server:
python manage.py runserver - Test:
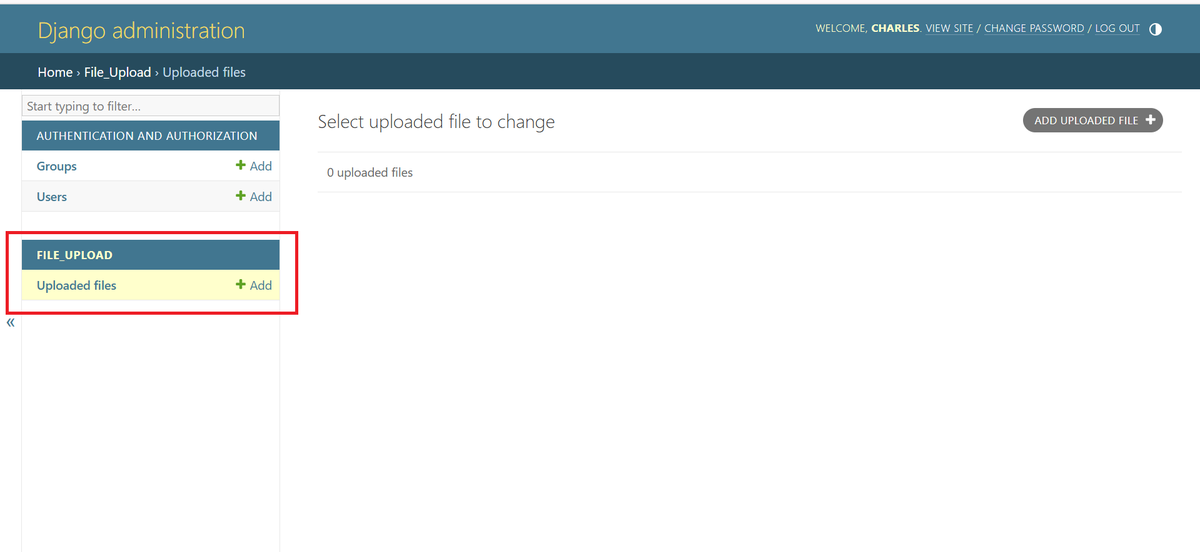
- Log in to the admin panel http://localhost:8000/admin/
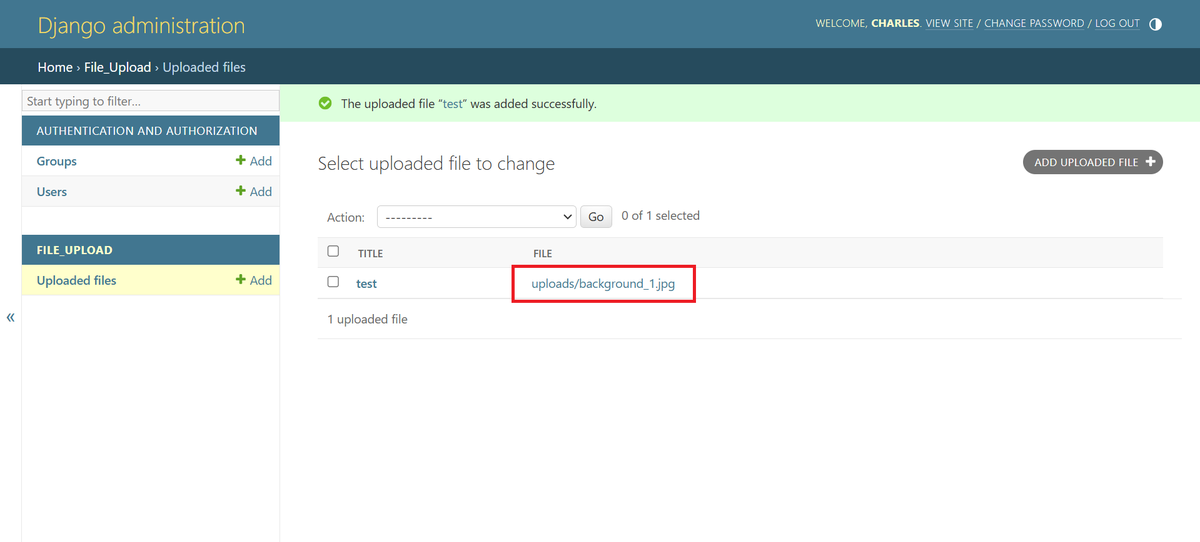
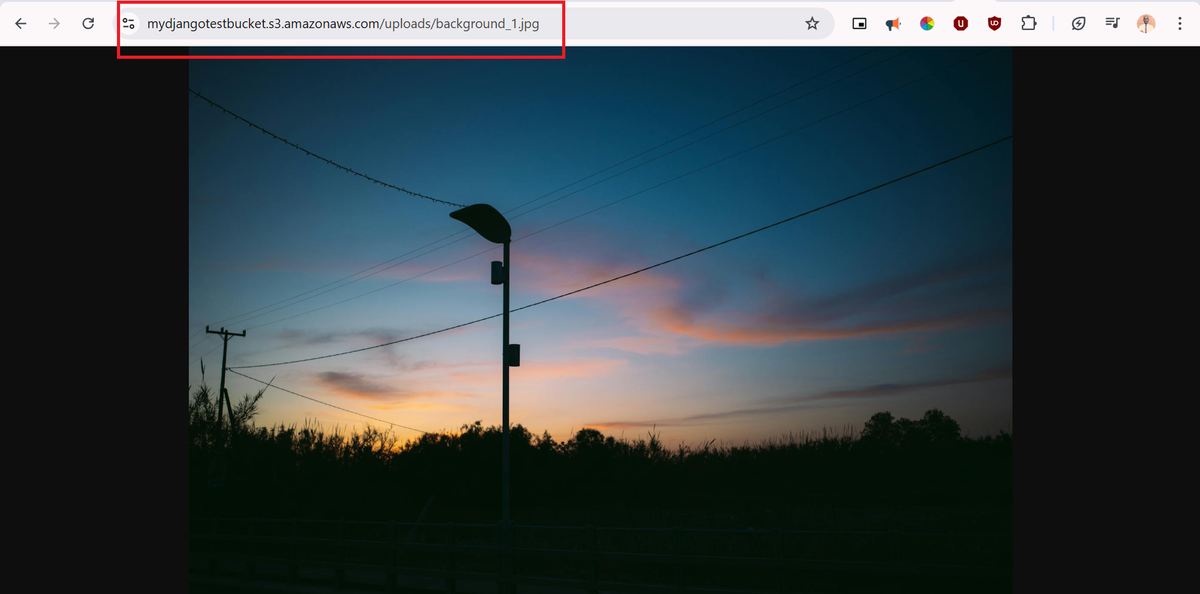
- Upload a file and verify it is served from S3.
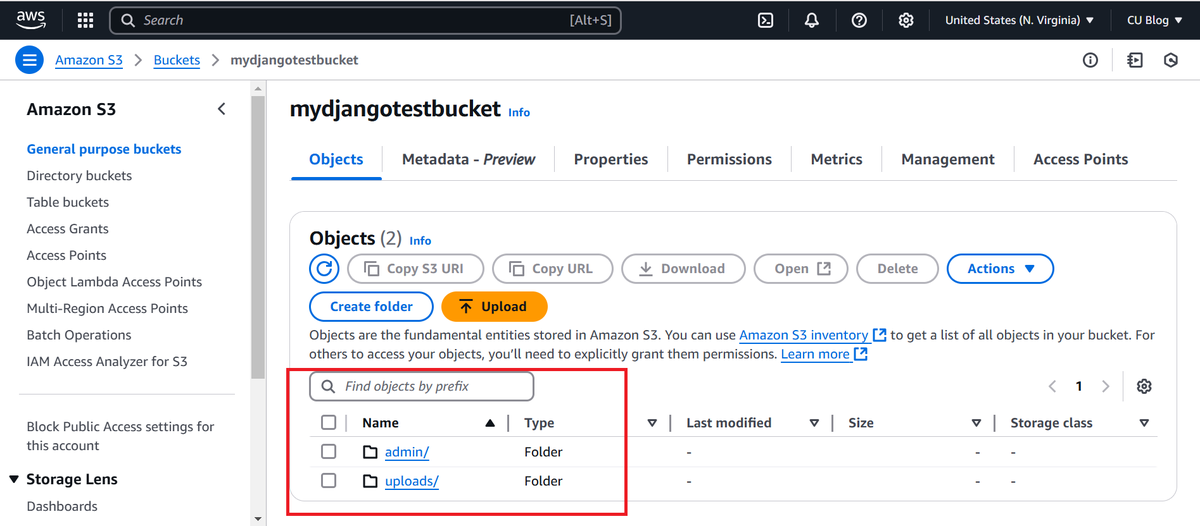
- Check the S3 console to confirm the file exists.
Conclusion
By following this guide, you’ve integrated AWS S3 with Django to manage static and media files efficiently. This setup ensures your app scales smoothly and serves files reliably.